With Contentware’s media library system, you have ultimate flexibility in sourcing multiple images for your promotional campaigns. This guide will show you how to use the media library system, and give information on image sizes for social channels.
Tips and Best Practices
- To make one image work across multiple channels, make that image 1800px x 1800px.
- Every image must be at least 600px wide.
- Images must be in the .jpg format.
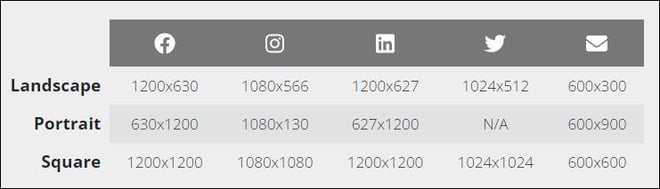
- These are the recommended image size dimensions for each marketing channel:
There are 3 locations where you'll access Contentware's image functionality.
- The Media Library. In the upper right corner of Contentware's navigation bar, you'll find a link to the Media Library. Here, you can manage your assets outside of the context of a campaign.
- During the campaign set up process. During the campaign creation process, you'll select one "anchor" image for the campaign. Additionally images may be added after the campaign has been generated.
- After the campaign has been generated. Under "Manage Content", you'll mange the imagery for the entire campaign.
Media Library
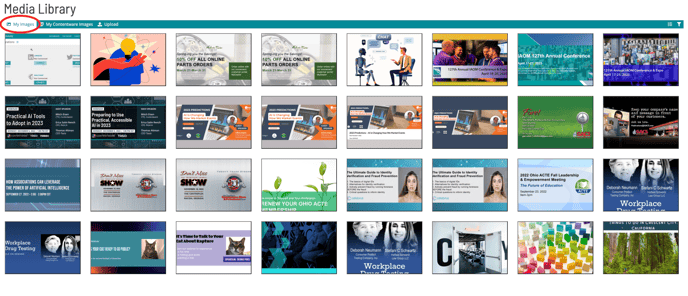
In the Media Library, you can see all the photos you’ve uploaded, or used in previous campaigns. You can access these images by clicking the Media Library link in the upper right nav bar.
![]()
Media Library: My Images
Once you’re in the media library, you’ll notice a navigation bar with three options, “My Images”, “My Contentware Images”, and “Upload.” “My images” are the images you’ve uploaded to Contentware.
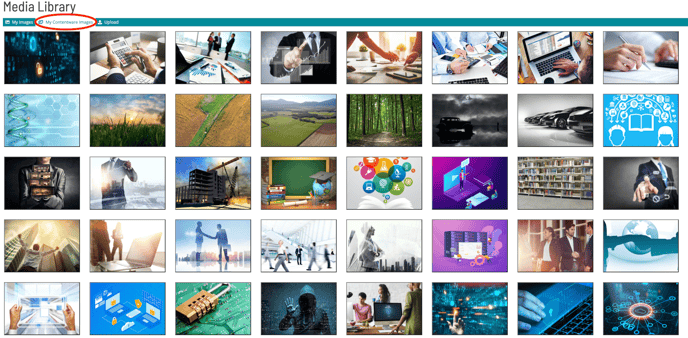
Media Library: My Contentware Images
“My Contentware Images” is the collection of images that you’ve used in your campaigns that have been generated by Contentware’s AI.
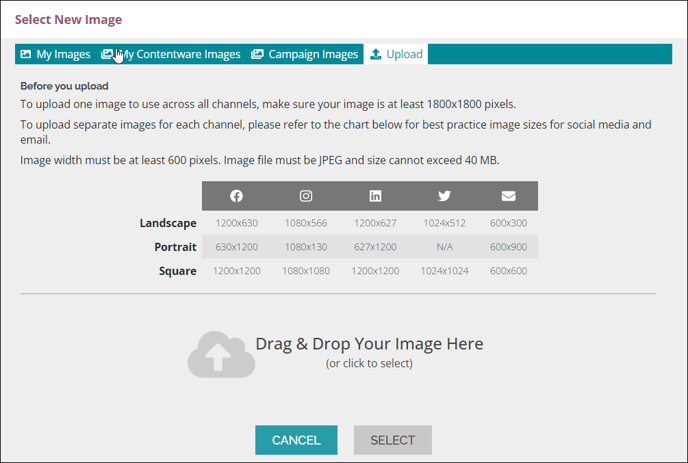
Media Library: Upload
The “Upload” tab is where you can upload images for your campaigns. Please review our best practices to ensure your image displays optimally.
Selecting an image during the campaign creation process
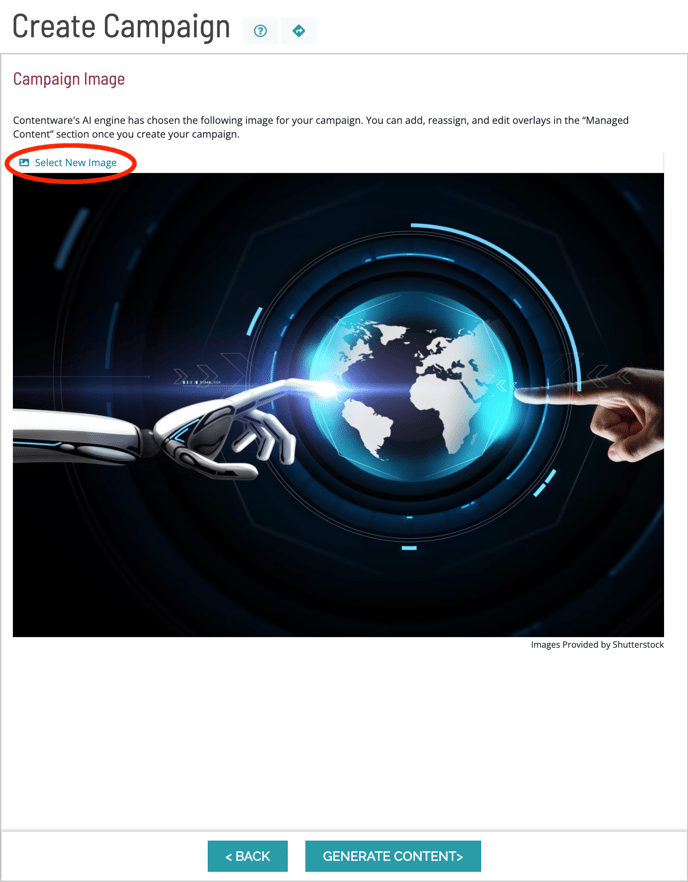
1. Once you get to the image selection stage in creating a campaign, Contentware’s AI automatically selects an "anchor" image for you, like the one shown above. If you want to change this image, press “Select New Image”
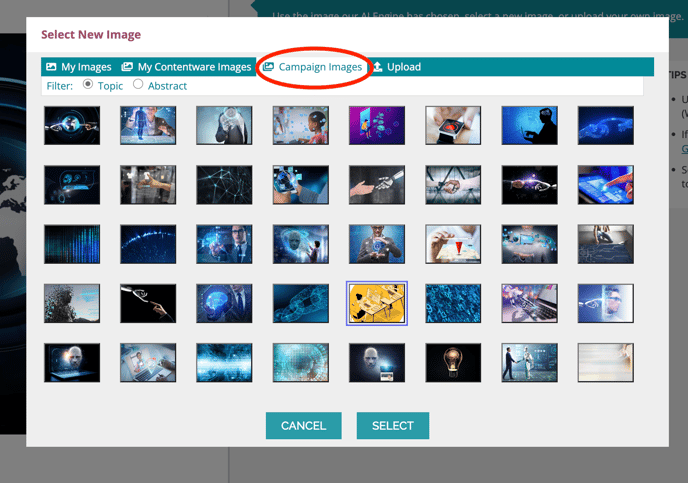
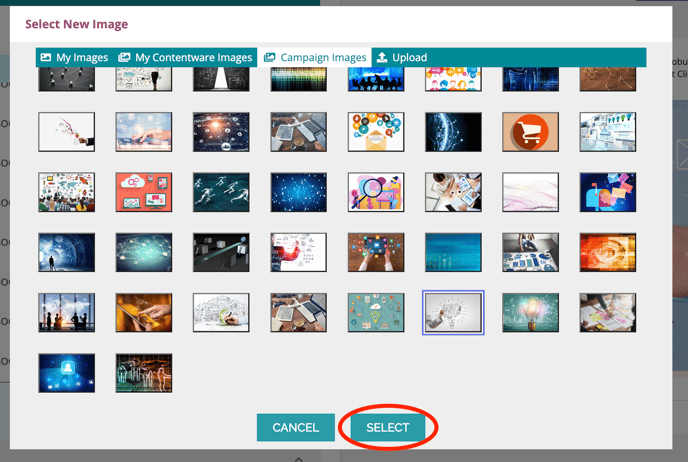
2. Once you press “select new image,” a screen similar to your media library will appear. Here, you can choose a new image for your campaign. You can choose an image you’ve previously uploaded in the “my images” section, an image Contentware generated and was used for a different campaign in “My Contentware images,” an image generated by Contentware for this campaign in “Campaign images,” or upload an image.
As you can see, when you press “Campaign Images,” there is a library of new images Contentware’s AI has generated. Choose the one you want, and press “select.”
4. Once you press “select,” your new image will appear. Now, when you generate your campaign content, this image will be included. As always, press "Generate Content" to create your campaign.

Managing images after the campaign has been generated
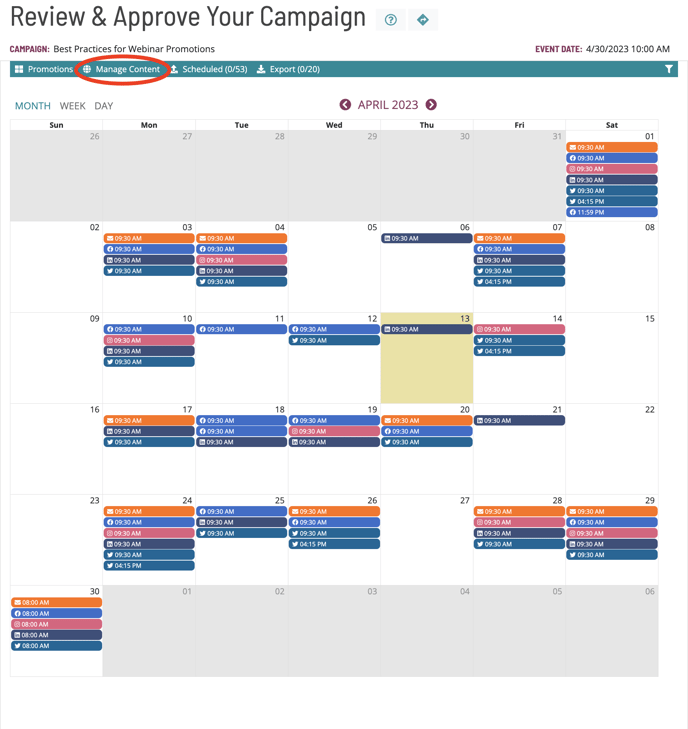
When the campaign is generated, the "anchor" image is displayed in every promotion. You can swap out this image for another one (or ones) based on a specific social channel, and/or set of dates, by first going to “Manage Content.”
Next, you’ll go to “Media Library.”
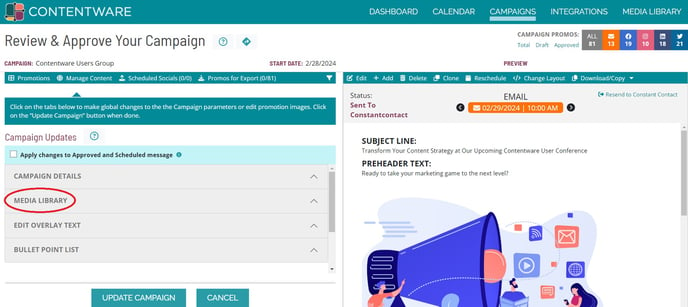
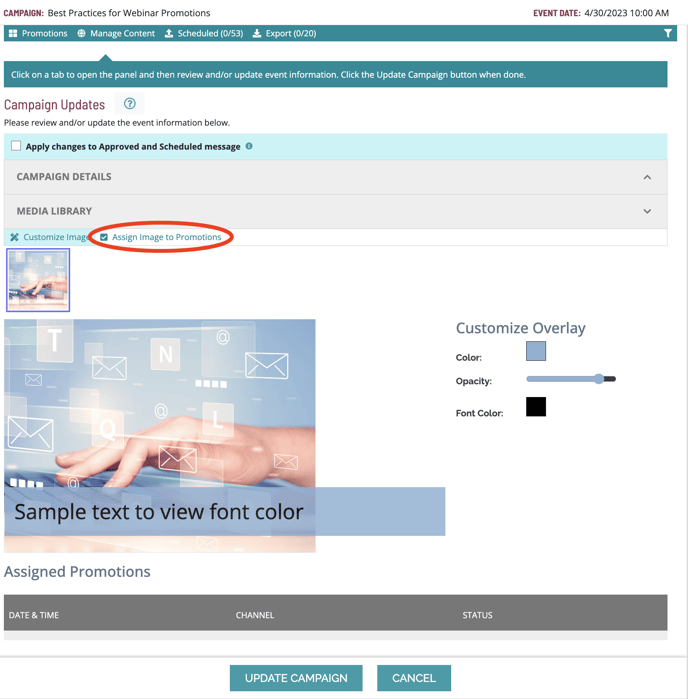
Once you press “media library”, note the two options in the small navigation bar:
- Customize Image - Here, you'll see the "anchor" image, and can customize its overlay to more closely match your brand colors. Additionally, when you scroll down, you see a list of all the promotions containing this image.
- Assign Image - This is the feature you use to assign new images to one or more promotions.
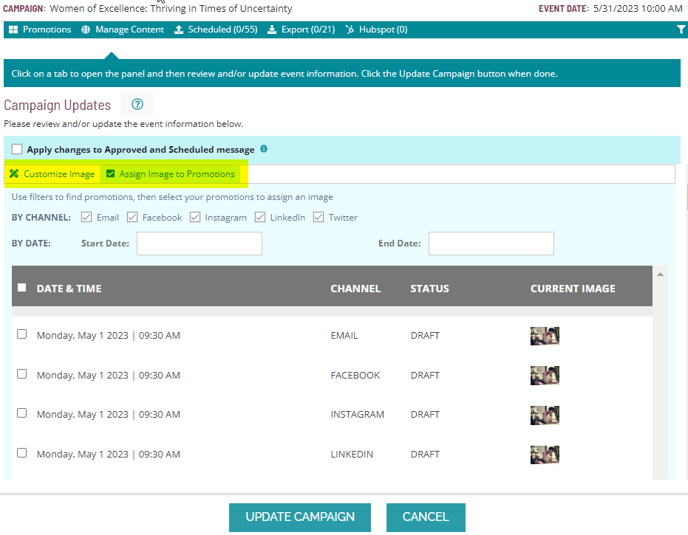
To assign a new image to one or more promotions, press “Assign Image to Promotions.”
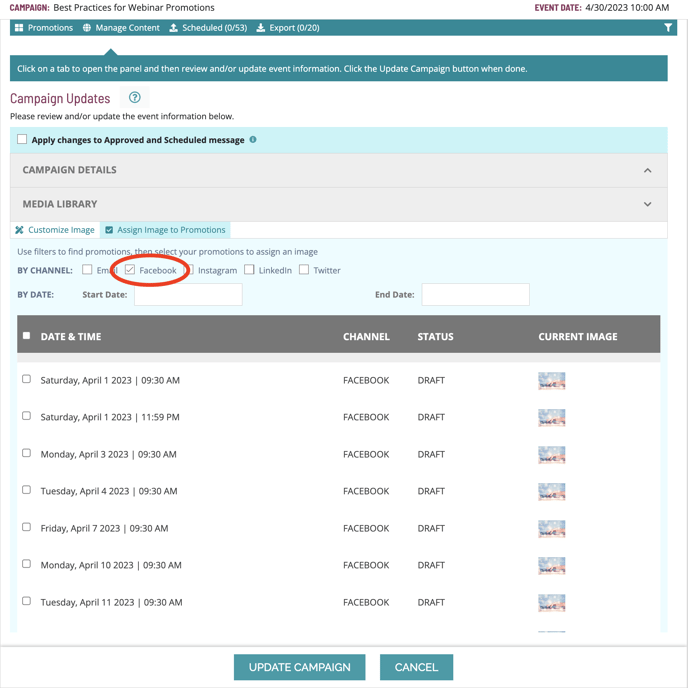
Next, using the filter feature, define the promotions whose images you want to change.
Let's say you want to use a second image in your Facebook promotions. Simply deselect the channels (Email, Instagram, LinkedIn, and Twitter), that aren't Facebook.
Next, you must choose the target promotions. Either select the checkboxes of individual promotions, or select "DATE & TIME" to select all of the Facebook promotions.
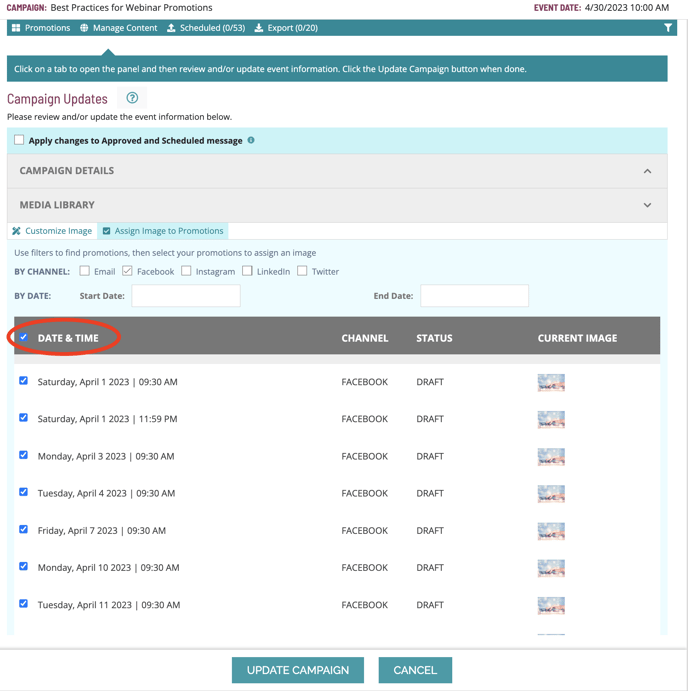
After checking the box, scroll down and press "Assign Image."

Choose the new image you want featured for your Facebook promotions and press "Select."
To finalize the changes, press "Upadate Campaign." 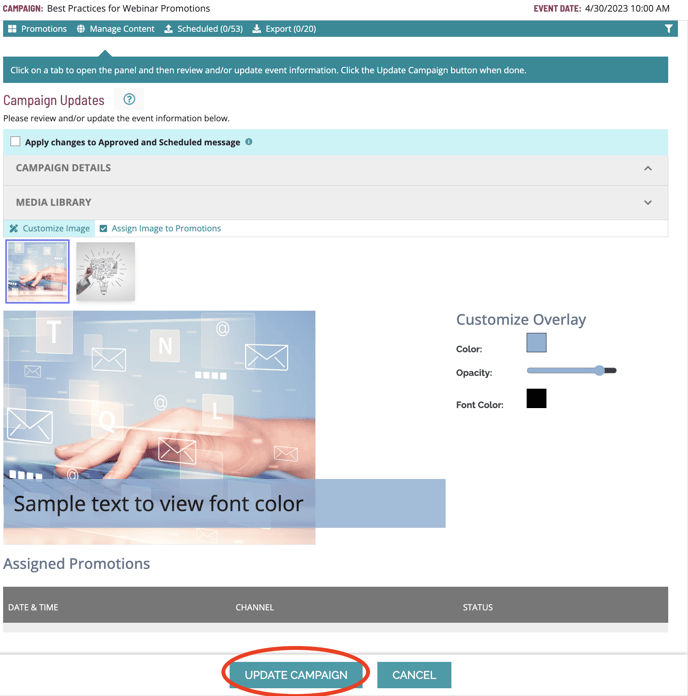
You're done! Now you will see the second image in all of the Facebook promotions.
If you have any questions about Contentware's image functionality, or any other Contentware matter, please contact us at support@contentware.com